Tile beautiful seam method
1. Tool preparation: double-barrel glue gun, seam cone, scraper, spatula, wallpaper knife (scissors);
2. Choose the color of porcelain seam glue: the general situation is determined according to the color matching of the tiles and your own preferences;
3. Operation steps: pull out the buckle on the cover of the outlet of the porcelain seam glue bottle, then unscrew the cover of the outlet, and then use the wallpaper knife to cut the outlet of the mixing tube into a 45-degree angle, the tile joint is less than 2mm, just use the wallpaper knife to cut the slope of the front end of the discharge nozzle; the tile seam is larger than 2mm, you can cut a little more; the width of the discharge nozzle mouth should be smaller than the width of the slit to ensure that no overflow; then Screw the mixed hose to the mouth of the porcelain seam glue bottle and tighten it; finally, install it on the double-tube glue gun, and you can start construction.
4. Construction method:
(1) After entering the site, clean the site, and then use the cleaning cone to clean up the filler in the ceramic tile and on both sides. The ground and brick joints are not allowed to have floating dust;
(2) First hit 30 ~ 40cm (cannot be used for removal) to make the porcelain seam glue in the hose fully mixed;
(3) After confirming that there is no dust in the gaps of the ceramic tiles, use a glue gun to evenly hit the porcelain joint glue in the brick joints;
(4) Then use a scraper to scrape the porcelain joint glue flat;
(5) After the porcelain joint glue has dried, shovel a small amount of material from both sides of the brick joint with a spatula;

Matters needing attention in ceramic tile
1. Ensure that the bottom surface of the construction tile joints must be flat, strong, free of dust and moisture;
2. The width of the discharge nozzle is slightly smaller than the width of the slit, so that the discharge can completely cover the bottom surface of the gap of the ceramic tile;
3. The material should be evenly distributed, and small bricks with many cross interfaces should be carefully scraped;
4. The construction temperature is 15 ~ 30 degrees, and the spilled material must be cleaned up during construction;
5. Within 3 hours of ground construction, do not walk on it to avoid contamination of the surface of the US sewing agent with dirt.

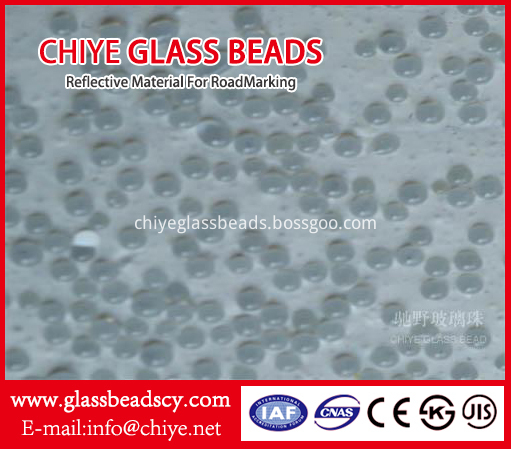
These beads are coated with a special coating during the manufacture of the glass beads. In the rainy and foggy weather, the moisture can not easily adhere on the surface of glass beads, so the effection on reflectivity caused by bad weather will be reduced. The granulometry of this type glass beads is the same as non-coated glass beads.
The glass bead can be produced based on the standard of countries or areas, such as EN1423/1424, AASHTO M247, BS6088, JIS R3301 and KS L2521 etc.

Moisture Proof Glass Beads,Moisture Proof Glass Beads Road Marking,Reflective Moisture Proof Glass Beads,Moisture Proof Solid Glass Beads
CHIYE GLASS BEAD (HEBEI) CO., LTD , https://www.chiyeglassbeads.com